You can add a cPanel email account to your Android mobile using the built-in email application. You do not need to use any external application from Google Play.
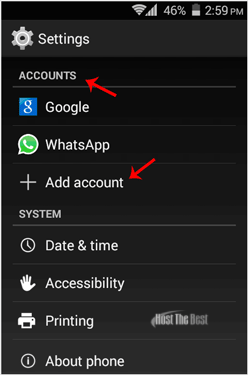
1. Open your android mobile, go to the main menu and the "Settings" options, and under the "Accounts" option, tap on "+ Add Account".
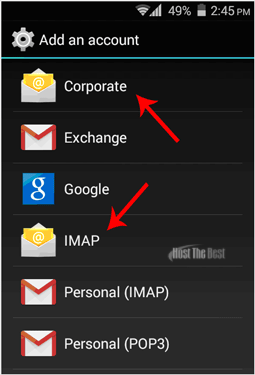
2. Now tap on the "Corporate" or the "IMAP" email icon. Both are the same.
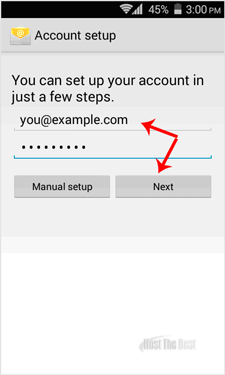
3. In the account setup, enter your full email address such as "[email protected]" and your email password. Then Tap on the "Next option.
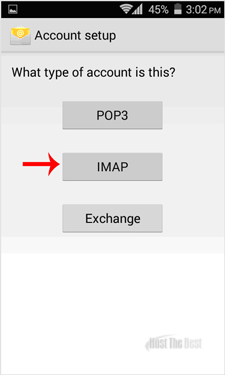
4. You will get 3 options and you just need to tap on the "IMAP" option.
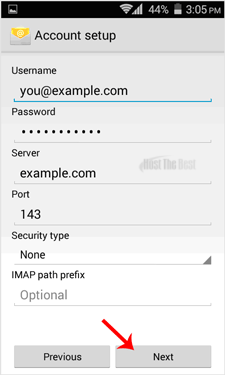
5. Make sure you are using your domain name in the server field, for example "example.com", and the port should be set to 143. Then tap on the "Next" button. (Leave all other options as they are.)
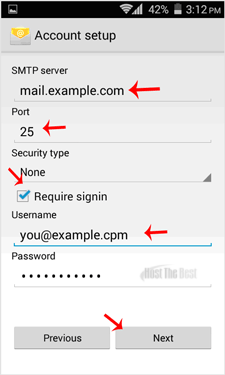
6. Under "SMTP Server", change "smtp.example.com" to "mail.example.com" and change the port to 25. Then tap on the "Next" button.
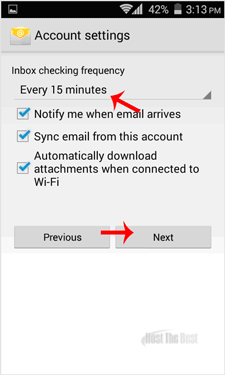
7. If you want to change the inbox sync frequency, then do it. Otherwise, tap on the "Next" button.
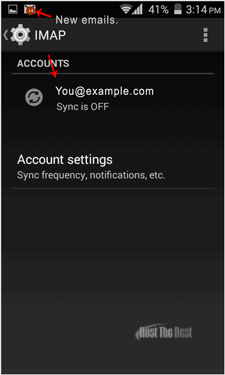
Congratulations! Now, whenever you receive an email, you will be notified. You can see a list of email accounts from your Android at Settings >> Accounts >> IMAP.
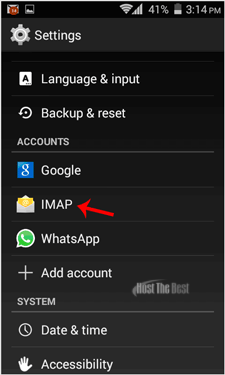
There is a list of accounts, sync on/off details and a new email notification.
If you want to know how to read/check emails manually or compose a new email, check our other tutorials on Android.
- 0 Usuários acharam útil
Artigos Relacionados
Powered by WHMCompleteSolution